Table of Contents
ToggleA cramped master bathroom doesn’t have to feel like a regrettable afterthought. With smart planning and strategic upgrades, even a 5×8-foot space can deliver comfort and style without a gut-job budget. The key is choosing changes that visually expand the room while actually improving how you use it. This guide walks through seven practical, budget-conscious upgrades that deliver the biggest bang, from layout tweaks to lighting shifts, so your small master bathroom feels less like a closet and more like the daily escape it deserves to be.
Key Takeaways
- Small master bathroom remodel ideas like relocating vanities or installing pocket doors can make a 50-square-foot space feel 20% larger without requiring a full gut renovation.
- Wall-mounted vanities and corner fixtures eliminate visual clutter while freeing up floor space for just $150–$400 in materials and 2–3 hours of installation time.
- Layered lighting with task lights at the mirror and dimmable ambient options transforms both mood and functionality, with warm white bulbs (2700K) making tight spaces feel cozier.
- Large-format tiles (12×24 inches or larger) and light-colored flooring create visual continuity and make cramped bathrooms feel airier than busy patterns or dark colors.
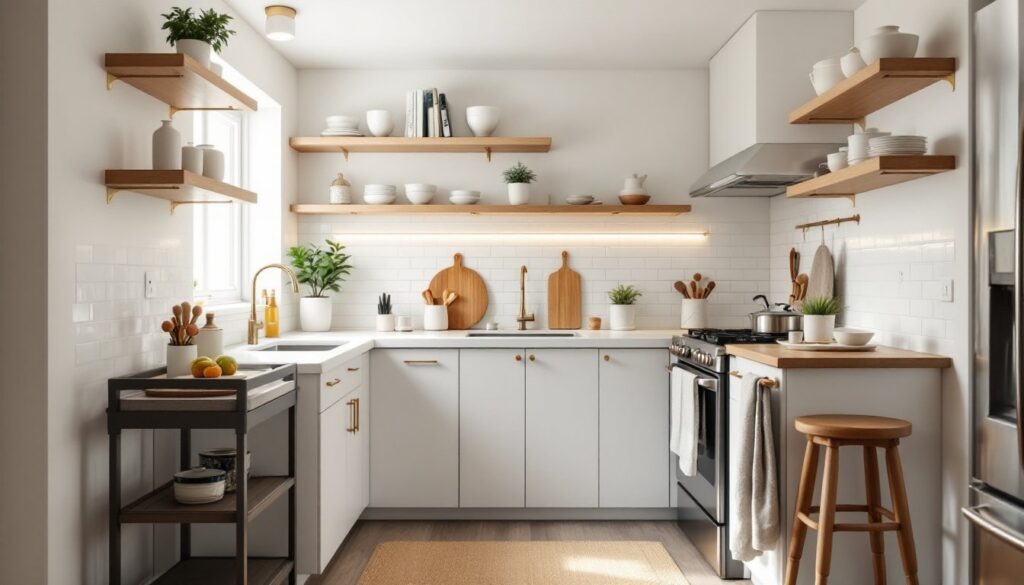
- Vertical storage solutions like floating shelves, tall linen cabinets, and over-the-toilet units maximize every inch without cluttering countertops or eating into floor space.
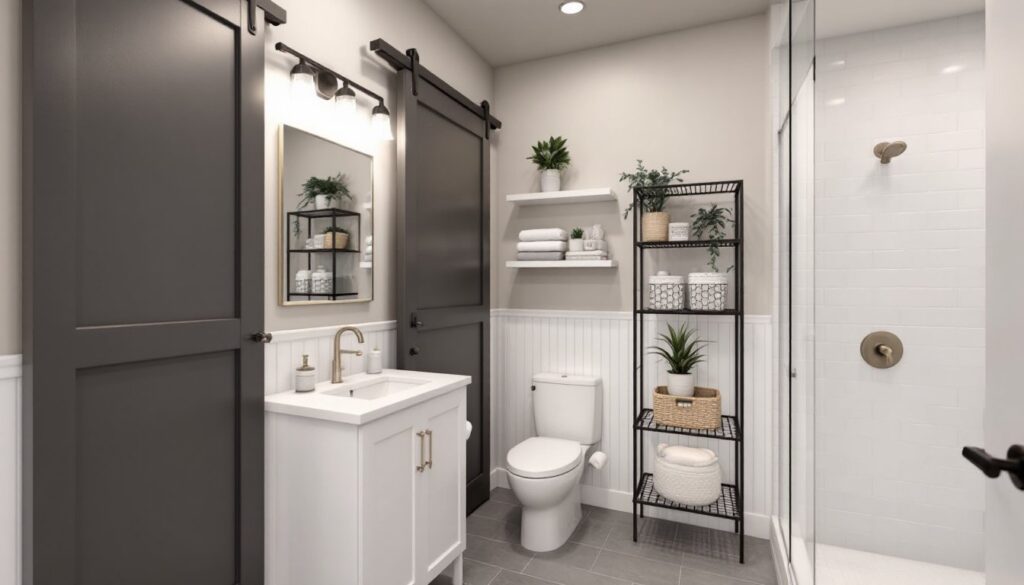
- A fresh paint color, accent wall tile, or beadboard wainscoting offers maximum visual impact for minimum budget, especially when applied to the wall behind the vanity where it’s most visible.
Maximize Space With Smart Layout Changes
The most common remodel mistake in small bathrooms? Keeping the same footprint just because the plumbing is already there. Moving a vanity or toilet a few feet often costs less than you’d think and unlocks usable space. If you’re willing to handle light plumbing work or hire a plumber for a day, consider shifting the vanity to a corner, turning the toilet at an angle, or floating the sink higher on the wall. These tweaks alone can make a 50-square-foot bathroom feel 20% larger. Standard interior doors swing inward and eat 10–15 square feet of floor space: pocket doors or sliding barn doors reclaim that real estate without sacrificing privacy. If full plumbing relocation is out of reach, smaller wins still matter: replacing a bulky vanity with a wall-mounted unit and removing any storage cabinet that juts into the room creates psychological openness.
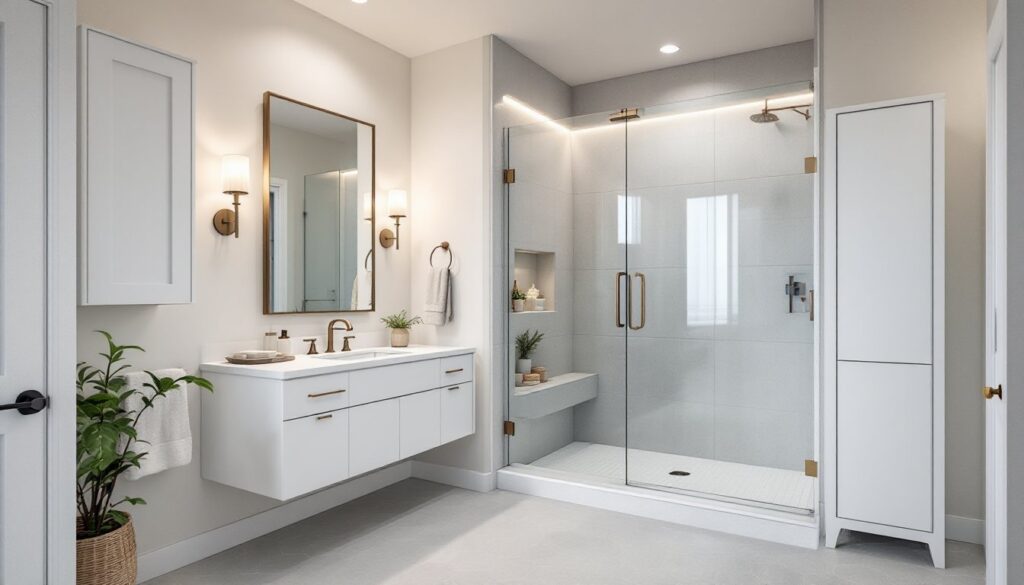
Corner Vanities and Wall-Mounted Fixtures
Corner vanities are a no-brainer for tight spaces. They use otherwise wasted real estate and keep traffic flow clear down the center of the room. Wall-mounted sinks and vanities are also lifesavers, they eliminate the visual weight of cabinet legs and make sweeping or cleaning the floor infinitely easier. A 24-inch wall-mounted vanity, standard depth, costs $150–$400 for the unit alone and takes a competent DIYer 2–3 hours to install (you’ll need a stud finder, level, and appropriate anchors for your wall type). The plumbing rough-in might already be there: if not, you’re looking at $200–$400 in labor and materials for a plumber to relocate supply and drain lines. That’s a one-time investment that permanently opens your floor plan. Vanity cabinets for bathrooms come in endless styles, so match your aesthetic, floating vanities in matte black or light oak look current and cost no more than dated pedestal models. Ensure the wall backing is solid (not hollow drywall) before mounting: if you’re unsure, a quick stud-check with a $10 tool or a professional consultation takes the guesswork out.
Upgrade Lighting for Ambiance and Functionality
Harsh, single-overhead-light bathrooms feel smaller and look worse at 6 a.m. Layered lighting, task lighting at the mirror, ambient lighting overhead, and accent lighting on shelves or walls, transforms both the mood and the practical utility. Swap that dated ceiling fixture for a modern flush-mount or semi-flush option in brushed nickel or matte black: it costs $40–$150 and takes 30 minutes for anyone comfortable with electrical work. If you’re not, a licensed electrician charges $75–$150 to swap it out. Add vanity lighting on either side of the mirror, which offers shadow-free task lighting for shaving or makeup, essential in a small space where you’re standing inches away. Bar lights, typically 24–36 inches wide, run $30–$100 and install in 45 minutes. For ambiance, recessed LED downlights or a dimmable sconce above the toilet or on a shelf add warmth without clutter. Dimmable bulbs are cheap (under $5 per bulb) and let you adjust brightness based on time of day. Small bathrooms amplify light, so avoid anything too bright: warm white (2700K) feels cozier than cool white (4000K+), especially in tight quarters.
Choose Flooring That Works Harder in Small Spaces
Flooring sets the tone and takes the most wear in a bathroom. In a small master bath, choose material that’s durable, easy to clean, and visually expands the space. Large-format tiles (12×24 inches or bigger) make a cramped bathroom feel airier because fewer grout lines create visual continuity. Avoid dark colors and busy patterns, which shrink the perceived space: light grays, soft whites, or pale earth tones feel open. Porcelain tile is the DIY-friendly choice, it’s water-proof, durable, and affordable ($1–$5 per square foot). If you’re comfortable mixing thinset mortar and using a wet saw to cut tiles, a 40-square-foot bathroom is a manageable first project. Pre-seal grout after installation to prevent staining and mildew, especially around the shower surround. Luxury vinyl plank (LVP) is an alternative if you want to avoid grout entirely: it’s waterproof, warmer underfoot than tile, and costs $2–$4 per square foot installed. Just confirm the subfloor is level and stable, LVP shows every imperfection. Avoid carpet entirely in bathrooms unless you enjoy mold and mildew. If you want warmth underfoot, add a washable cotton or jute bath mat and swap it weekly.
Storage Solutions That Don’t Clutter
Small bathrooms demand storage discipline. Every item left on the counter shrinks the room visually and makes cleaning harder. The solution isn’t more cabinets, it’s smart, hidden storage that keeps essentials within arm’s reach but out of sight. Over-the-toilet shelving units are cliché but functional: a sleek 3-shelf unit in black or white metal costs $30–$80 and mounts in 20 minutes. Recessed medicine cabinets (installed in the wall cavity rather than surface-mounted) free up counter space and vanish into the wall. If your walls are framed with 16-inch stud spacing, a standard 16×20-inch recessed cabinet installs between studs: deeper walls or tile require professional routing. Wall-mounted baskets or wire shelves at eye level create visual interest without the footprint of floor cabinets. Mount them 18–24 inches above the countertop. Bathroom storage solutions should prioritize vertical real estate, not horizontal sprawl.
Vertical Storage and Built-In Organization
Think up, not out. Install floating shelves above the toilet, sink, or along an empty wall. A 24-inch floating shelf holds towels, baskets, or decorative items and costs $15–$40 for the shelf plus $30–$60 for installation hardware. Tall, narrow linen cabinets (20 inches wide, 68 inches tall) fit in corners or beside the toilet and provide dense storage without eating much floor space. Drawer dividers inside vanities prevent the junk-drawer chaos that eats up usable space. Tension rods inside cabinets hang spray bottles or cleaning supplies vertically. Over-the-door hooks behind the bathroom door (or inside cabinet doors) hold robes, towels, or hair tools. These micro-wins stack up. The goal is ensuring every inch serves a function and nothing sits on the counter except daily essentials, toothbrush, soap dispenser, maybe a small plant.
Refresh Walls and Finishes for Maximum Impact
Paint or tile is the fastest, cheapest way to transform a small bathroom. A fresh coat of paint (in a color that reads light and airy) costs $50–$150 in materials and a weekend of work. Prep is critical: clean, sand, and prime before painting. Use semi-gloss or satin finish (not flat) in bathrooms, it resists moisture and mildew better. Soft whites, pale grays, and warm beiges feel spacious: avoid dark or saturated colors that close in the room. If you want pattern, consider a single accent wall (behind the vanity or toilet) with peel-and-stick wallpaper or tile decals. Half-wall tile or beadboard wainscoting (the lower 3–4 feet of wall finished with horizontal wooden panels or shiplap-style boards) is a classic trick to add texture, protect walls, and make the space feel taller. Bathrooms with beadboard create cottage charm while serving a practical purpose, water splashes are easy to wipe down. Pre-finished shiplap or beadboard boards run $1–$3 per linear foot and install with a brad nailer or construction adhesive. Add a crisp white or neutral paint above and the room suddenly has depth and character. For the most impact with minimum budget, focus on the wall behind the vanity, it’s what you see first when you enter and in the mirror while using the sink. A simple tile accent, bold paint color, or wallpaper there transforms the whole vibe.