Table of Contents
ToggleRemodeling a small bathroom with a tub doesn’t mean sacrificing comfort or style. It’s a common misconception that tiny bathrooms force you to choose between a functional bathtub and usable floor space. The reality? Smart design choices, careful planning, and the right fixture selections can let homeowners enjoy both. Whether you’re dealing with a 40-square-foot powder room or a cramped master bath, today’s compact tub styles and layout strategies make it entirely possible to create a spa-like retreat. This guide walks through practical remodel ideas that work in real-world spaces, no Pinterest fantasy bathrooms here, just honest solutions backed by space-saving techniques.
Key Takeaways
- Corner alcove and freestanding soaking tubs are compact solutions that fit small bathrooms without sacrificing comfort, with corner tubs measuring 54–60 inches long and freestanding options as narrow as 30 inches wide.
- Smart storage solutions like floating shelves, recessed niches in tile surrounds, and under-sink pull-out drawers maximize vertical space and keep small bathroom remodels organized without eating into floor area.
- Strategic layout decisions—such as angling fixtures, using pocket doors, and keeping existing plumbing in place—can cut remodeling costs by 20–40% while making the space feel larger and more functional.
- Light colors, proper lighting (overhead plus mirror sconces), and mirrors multiply the perceived size of a small bathroom and create a spa-like atmosphere at minimal cost.
- Small bathroom remodels return 70–75% of their cost at resale, and focusing labor and material budgets on one or two statement pieces (vanity, hardware) while keeping plumbing and fixtures in place delivers maximum impact for minimum expense.
Compact Bathtub Styles That Fit Tight Spaces
Corner And Alcove Tubs
Corner tubs are workhorses in small bathrooms. A corner alcove tub (typically 54–60 inches long, 30–32 inches wide) tucks neatly into the junction of two walls, freeing up floor space elsewhere. The wall surround also simplifies plumbing runs, you’re anchoring to existing framing rather than building out into the room. Installation is straightforward if studs are already where you need them: if not, you’ll likely need to relocate them, which falls into structural territory and may require permits depending on your jurisdiction.
One key detail: measure your doorway and hallways before ordering. A tub that doesn’t fit through the bathroom entrance is an expensive mistake. Nominal dimensions (60-inch tub) are slightly smaller in actual size (about 59 ¼ inches), but confirm exact specs with your supplier.
Alcove surrounds (the tile or fiberglass walls) come in two flavors: retrofit kits for existing tubs, or one-piece molded units. One-piece units are faster and create a cleaner seal, but they’re bulky to maneuver. Retrofit surrounds let you tile around your tub, offering more design flexibility.
Freestanding Soaking Tubs
Freestanding tubs, your Japanese-soaking-style or classic roll-top options, sound luxurious, and they are. They also look intentional in small spaces, almost sculptural. A compact freestanding soaking tub can be 48–54 inches long and only 30 inches wide, taking up less floor footprint than many corner alcove units. The trade-off is that they sit away from walls, so you need plumbing roughed in before the tub arrives.
Material matters. Acrylic freestanding tubs are affordable and warm underfoot. Resin or cast-iron versions cost more but hold heat longer. For a small bathroom, acrylic or resin makes sense, lighter weight and easier installation. Just confirm your floor can handle the weight when filled with water. A 5-foot soaking tub filled with water and a person weighs 600–800 pounds: most modern residential framing handles this, but older homes may need floor reinforcement.
Don’t overlook the plumbing rough-in location. You’ll need the drain, supply lines, and overflow positioned precisely. This is where a second pair of hands, or a licensed plumber’s expertise, saves headaches. A misstep here means tearing into walls.
Smart Storage And Shelving Solutions
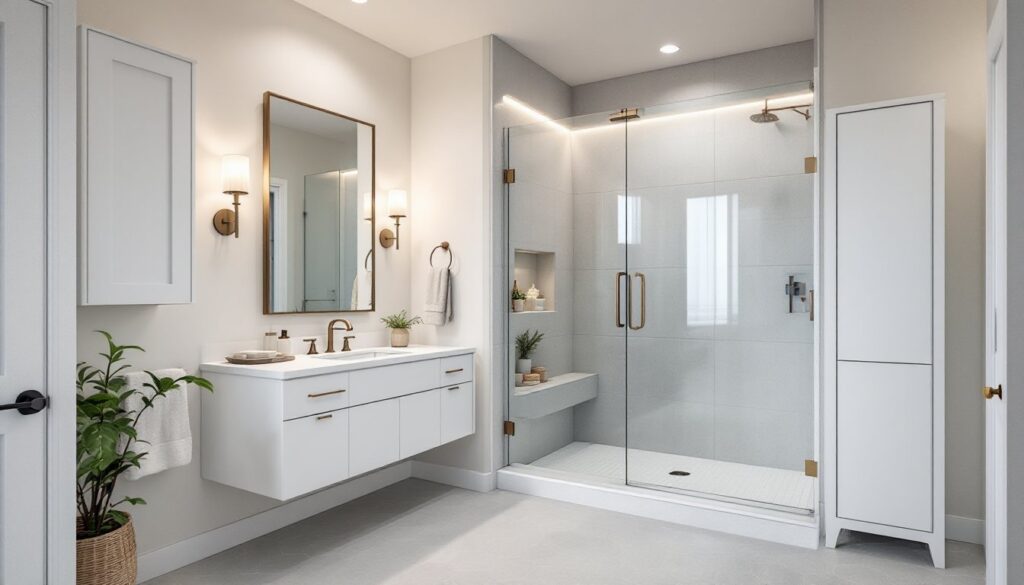
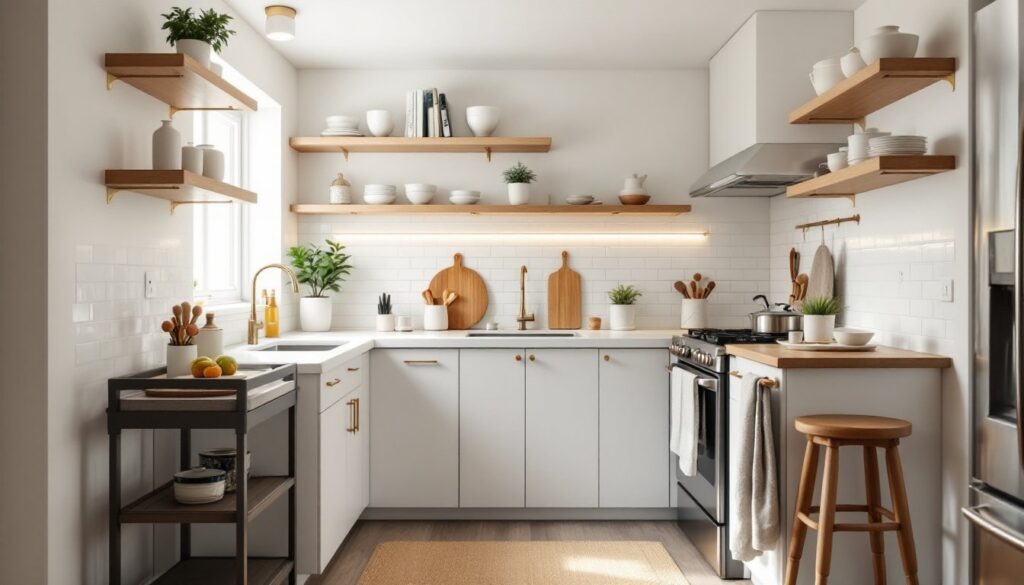
Small bathrooms demand vertical thinking. Floating shelves above the toilet, narrow built-in niches in the shower surround, and wall-mounted vanity cabinets all pull storage off the floor, making the space feel bigger. Recessed medicine cabinets (4–6 inches deep) fit between studs without eating into your floor plan, and they’re standard in most codes.
Corner shelving units are quiet heroes. A corner shelf (even a simple 10–12-inch-deep unit) at the far end of the room tucks storage into dead space. Pair it with lightweight, airtight canisters for toiletries and cleaning supplies, they look intentional and keep odors contained.
If you’re tiling or finishing walls around a tub, consider recessed niches in the surround itself. Cut a 12×12-inch or 12×24-inch opening between studs, frame it with tile-ready trim, and finish with matching tile. It costs minimal labor but gives homeowners a dedicated spot for soap and shampoo, and keeps the shower lip clutter-free.
Don’t overlook under-sink storage. Slim pull-out drawers or stackable bins maximize the awkward space under a pedestal or wall-hung sink. Bathroom vanities typically have 18–24 inches of depth: use that real estate. A double vanity designed for small spaces can offer more storage than a single unit while still looking proportional.
Layout Strategies To Open Up Your Bathroom
The layout of a small bathroom determines whether it feels cramped or cozy. Start by measuring everything: the tub, the door swing, the toilet, and the sink. Sketch it to scale (1/4 inch = 1 foot is standard). This five-minute exercise prevents costly rework.
If possible, angle the toilet or offset the vanity slightly. A straight-line layout (tub, toilet, sink in a row) eats space psychologically. Staggering fixtures creates visual breaks and makes the room feel less boxy. A corner toilet with a wall-hung vanity on the opposite wall, for example, opens up sightlines.
Consider the door swing. A door that swings inward into a small bathroom steals precious floor space when open. If code allows (and your plumbing permits), a pocket door or barn-style sliding door recedes into the wall, recovering 10–15 square feet instantly. Check your local building code, some jurisdictions restrict pocket doors in bathrooms due to fire-rated wall requirements. If a swing door is mandatory, hinge it so it swings outward (against the hallway), not into the room.
Always leave a clear floor space (at least 18–24 inches wide) in front of the tub or shower for standing, stepping out, and toweling dry. Cramped bathrooms that neglect this become slip hazards. Your local IRC (International Residential Code) doesn’t mandate a specific width, but 24 inches is the practical minimum for comfort and safety.
Plumbing runs also affect layout. If rough-ins are already in place, adapting to them is cheaper than relocating them. Moving a drain line or vent stack can add $1,500–$3,000 and may require a licensed plumber and permits. Ask yourself: can the tub, toilet, and sink cluster around existing plumbing? Often, they can, it just takes a floor plan sketch to confirm.
Color, Lighting, And Design Tricks For Small Bathrooms
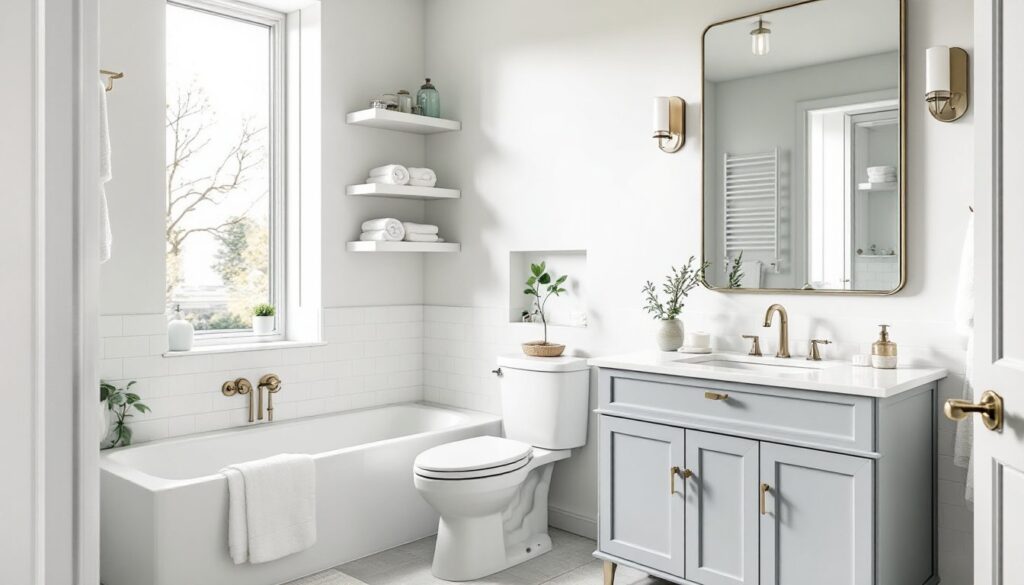
Color and light are free square footage. Light colors (whites, soft grays, pale blues) reflect light and make rooms feel larger. A small bathroom wrapped in white subway tile or light-gray porcelain will always feel more spacious than one dressed in dark earth tones. That said, accent walls or bold fixture finishes (a charcoal vanity, brass hardware) add personality without overwhelming the space, just use them sparingly.
Lighting separates good small bathroom remodels from great ones. A single overhead fixture casts shadows and makes the space feel cave-like. Pair overhead lighting with sconces on either side of the mirror (36–40 inches apart, 60 inches off the floor is standard). This combo eliminates shadows and makes grooming tasks easier. If adding sconces requires new wiring, it’s typically a weekend job for a licensed electrician.
Natural light is your secret weapon. If you have a window, maximize it, avoid heavy curtains or frosted glass. Even a small 18×24-inch window transforms a cramped bathroom. If you don’t have a window, consider a solar skylight or simply embrace bright artificial lighting. Modern LED fixtures mimic natural light and use minimal energy.
Mirrors multiply light and create depth. A large mirror (or a mirrored wall above the vanity) bounces light around and makes the space feel twice its actual size. Avoid mirroring the entire room, that’s overkill and can feel disorienting. A 36–48-inch-wide mirror above the sink does the job.
Texture matters too. Mixing matte and glossy surfaces, a matte white vanity with glossy tile, keeps the eye engaged without clutter. Specific design details like serene spa-inspired bathrooms rely on these balance tricks to feel restful in tight spaces.
Practical Budget-Friendly Remodeling Tips
Small bathrooms are the smart remodeler’s friend: smaller footprint means lower labor costs and less material waste. A 40-square-foot bathroom costs less to remodel than a 100-square-foot one, even if you’re using premium finishes.
Keep the plumbing in place whenever possible. Relocating drains, vents, or supply lines inflates costs by 20–40%. If your tub location works, stick with it. Same logic applies to the toilet and sink. This alone can cut months off a timeline and hundreds (sometimes thousands) off a budget.
Choose durable, affordable materials strategically. Porcelain tile costs $2–$10 per square foot installed, depending on size and finish. A small bathroom (50 square feet of wall tile) runs $400–$2,000. Upgrade the vanity or hardware if you want visual impact: save on less-visible surfaces. Real estate experts at ImproveNet note that bathroom remodels return 70–75% of their cost at resale, so balanced spending matters.
Demolition and prep aren’t glamorous, but they’re non-negotiable. Remove the old tub, vanity, and fixtures yourself if you’re comfortable with a reciprocating saw and a dumpster rental. Tile removal is dusty and tedious, consider hiring out if you lack the tools (a wet saw and oscillating multi-tool make it faster, but they’re not cheap).
Paint is one of the cheapest updates. A coat of quality bathroom paint (mildew-resistant, semi-gloss or satin finish, $25–$40 per gallon) on walls costs under $100 and transforms the space. Primer is essential in bathrooms, standard drywall primer won’t hold up to humidity. Use a dedicated bathroom primer and paint combo.
Since this is a small space, splurging on one or two statement pieces (a sculptural vanity, high-end faucet hardware, a cost-effective IKEA bathroom solution) feels luxurious without proportional expense. A $500 vanity in a 50-square-foot bathroom looks and feels premium: that same vanity in a 100-square-foot bath feels standard.
Get cost estimates from multiple contractors. Small remodels often have flat labor rates or package deals. Ask for itemized quotes so you know what drives cost. And always, always get 3–5 references. Budget overruns and timeline delays happen, experienced contractors with solid track records mitigate both. Resources like HGTV’s renovation guides and Remodelista’s design sourcebooks offer inspiration and real-world project costs for context.
Final Layout and Design Integration
Tying all these elements together happens in the planning phase. Before you demo a single tile, walk through your bathroom with your contractor or a designer, tape on the floor to mark fixture footprints, and live with it for a day or two. You’ll catch problems, a door swing that blocks the toilet, a vanity placement that steals light, before the work begins.
Small bathrooms with a tub reward thoughtfulness. A compact tub tucked into a corner, floating shelves overhead, bright lighting, and a smart color palette make the space efficient and inviting. The comprehensive bathroom remodeling guide on Patchynyc covers everything from fixture selection to final finishes, and creating better bathrooms hinges on these foundational decisions.
Your remodel doesn’t need to be complex to be successful. Thoughtful placement, durable materials, and attention to detail beat expensive trends every time. Start with the tub, anchor your layout around it, then layer in storage, lighting, and finishes. A well-planned small bathroom remodel pays dividends in daily comfort and home value.